ResurrectionFirst step was to let the
weather cooperate. It took until April before we had consistent
weather in Colorado to allow the proper curing of epoxy. Warning!,
all these shots where taked when the boat was laying on her side.
You may become disoriented.
During the winter, I had the opportunity to install a two ton hoist
in GarageMahal. This consisted of a 6X4 33 ft long 9lbs per foot
I-Beam. I also ordered a 2 ton rolling trolley and 2 ton
chain hoist. Total cost, $310. This allowed me to lift
Desperado off her trailer and set her down for some serious work.
You can see said hoist in the following picture. It also allowed
me to loan my trailer out to my neighbor who needed to pickup some long
lumber from the yard.
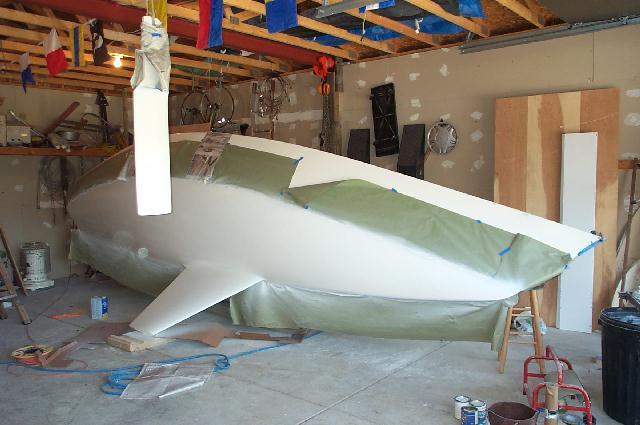
Tip a Canoe, and a J22!
Here she lies, with taped up for a new VC-Underwater bottom job and
the rudder hanging in the foreground for a new coat too. It is
infinitely easier to work on the bottom and keel when she lays on her
side like this. Also, the top is easier to work. Only the
inside is a bit tricky.
Here is her topside, stripped of all hardware. Waiting for her
turn at the sander.
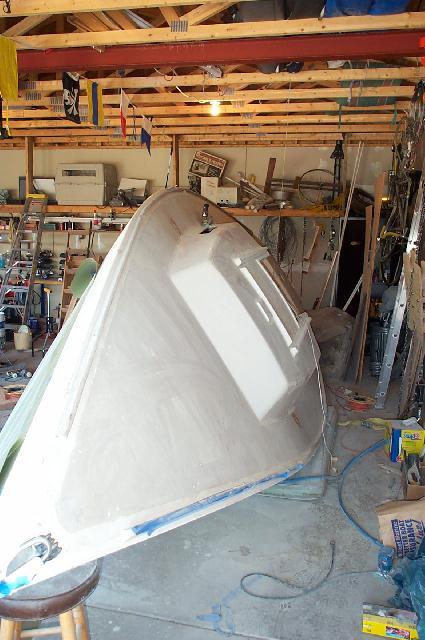
She spent about two weeks on each side as I worked the various
exterior issues.
Before I tipped her, I finished the bulkhead
replacement. Here is the bulkhead, sans trimwork with a coat of
primer over the epoxy coating.
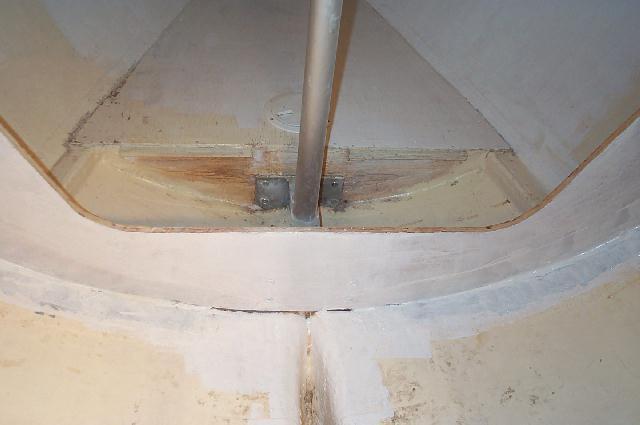
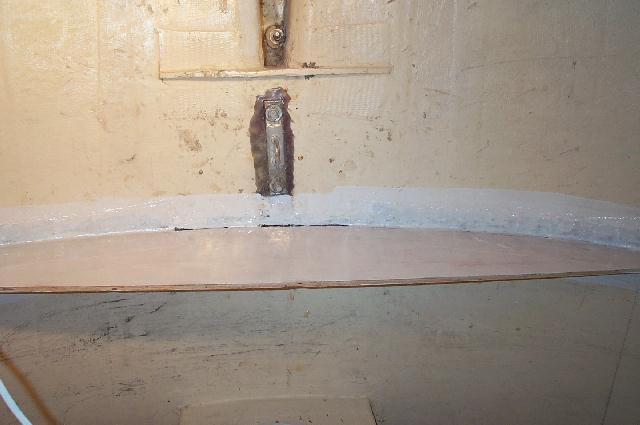
Remember
the separation in the sump? I ground out all the delaminated
glass, and epoxied 5 new layers of glass. She seems to hold after
I layed her down on the side. There's a coat of primer on the fix,
waiting for the final finish coat.
Here's
a shot of the aft bulk head I replaced. Note the primer on the new
epoxy tape. I wanted both bulkheads painted before I installed the
benches and trim.
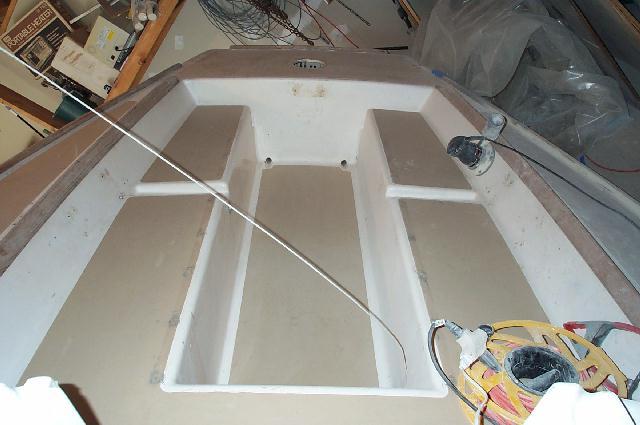
Here's
a shot of the cockpit being prepped for the new look. I filled the
stock non-skid with epoxy fairing compound and sanded it flush.
Not as much work as I had anticipated.
Tapping
off the non-skid allowed me to get sloppy with the application of the
new top. A combination of Interlux Non-Skid additive to West
Marine Single part poly primer. Use 3M Blue tape. It costs
three times the price of brown tape but you will feel like a million
bucks using it.
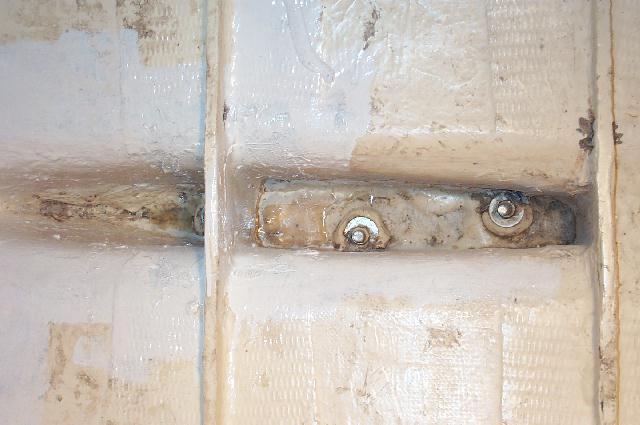
I
only rolled non-skid where the original was. Here is a shot of the
fixed chain plates. I ground out the top, dug out the rotted
balsa, and layed in thickened epoxy. I finished with epoxy with
fairing compound mixed in and pounded out the chain plates. Sanded
flush and painted with non-skid. Hopefully the plates will slide
back in!

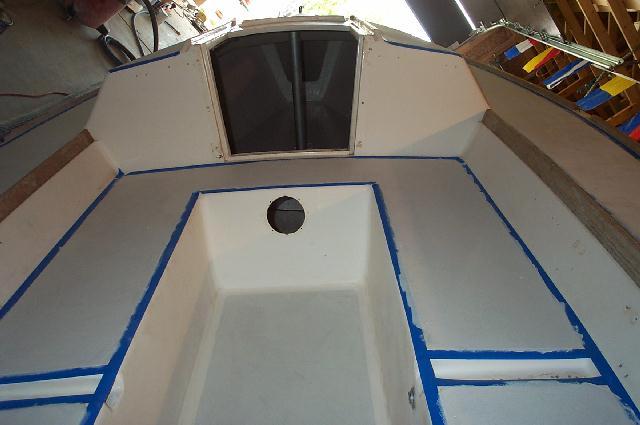
Here's
a shot of the bow during the non-skid application. I tapped off
the stock-non-skid and applied. I will remove the tape, and spray
a nice gray single polyurethane top coat over both the non-skid and
deck, including the cabin top.

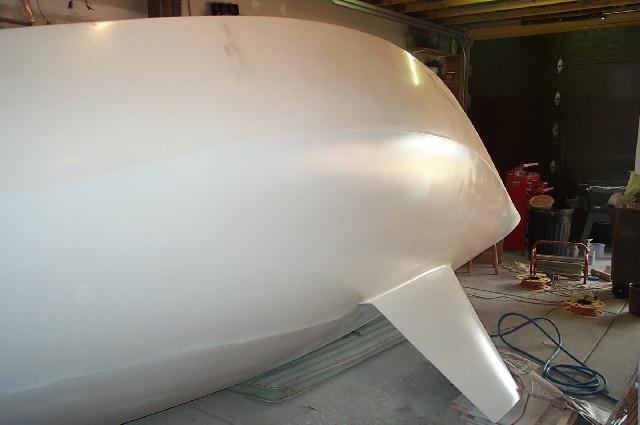
I
pulled all the tape off the hull to reveal a beautiful, epoxy bottom on
the boat. A little wet sanding and she'll be sweet!
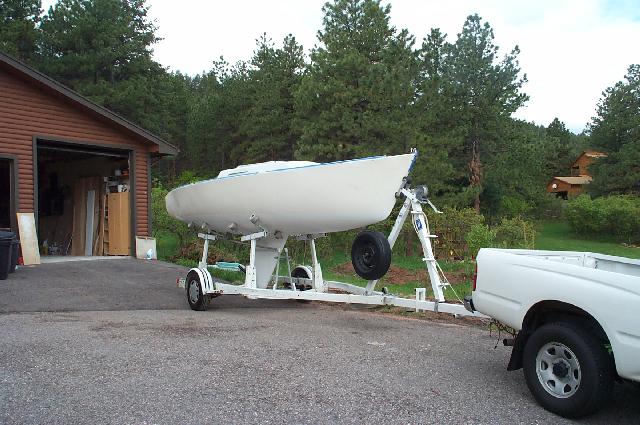
Now to let the bottom cure enough to set her back on her trailer for the
final topside painting and refitting of the hardware. Stay Tuned!
Back on the trailer and out of the GarageMahal for some fresh air, I
prepped the sides for painting.
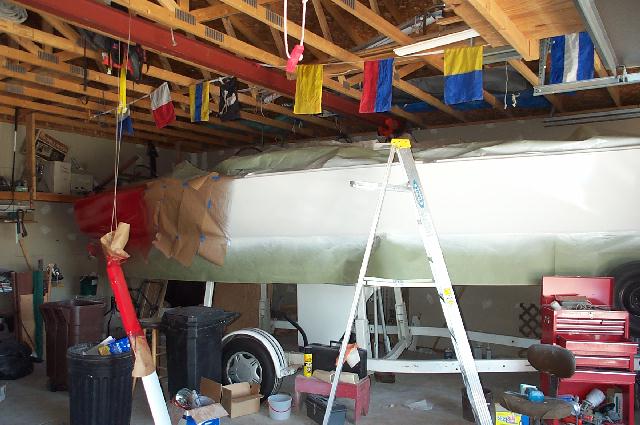
I
decided to do three colors on the hull. This required two stages
of painting. The center stripe first (gray) and let cure for two
days. Then taped it over to apply three coats of red on the stern
and white on the bow.
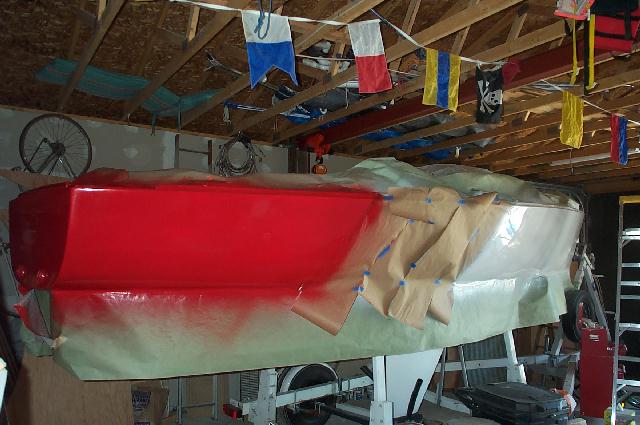
Another
shot of the hull painting. Its best to move all the cars out the
garage before spraying!
The
final product!
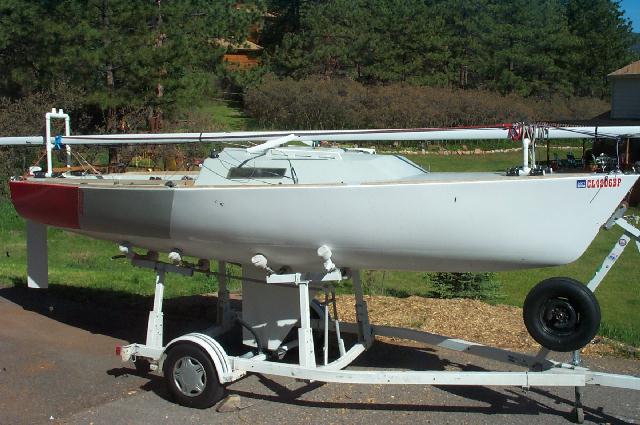
Maiden
Voyage, Wednesday May 30th, Chatfield Resvr, CO. With Team
Desperado. She was the talk of the club.

|