(DAY 1) Bulkhead Removal
The point of no return!
Tools needed (most I already had, but this was a good excuse to get a die
grinder).:
- Pneumatic die grinder w/cutoff blade ($25)
- Air compressor ($350)
- Reciprocating saw (Sawsall) ($100)
- Plenty of Sawsall blades ($5)
- Goggles (#@!$ flies everywhere) ($2)
- Good Respirator (You can't breathe in the hull when you do this!) ($15)
- Ear protection. (What?)
Tools sacrificed:
- One shop vac (victim of a murder plot of the air compressor and air hose,
they push it off the boat and all the kings horses and all the kings men
couldn't put Humpty Dumpty back together again.) ($35)
- 4 Sawsall blades. Those suckers will only flex just so many times.
($5)
Time necessary: It took me no more than 2 hours to cause this mess. I
had already removed the chainplates, benches and floor board.
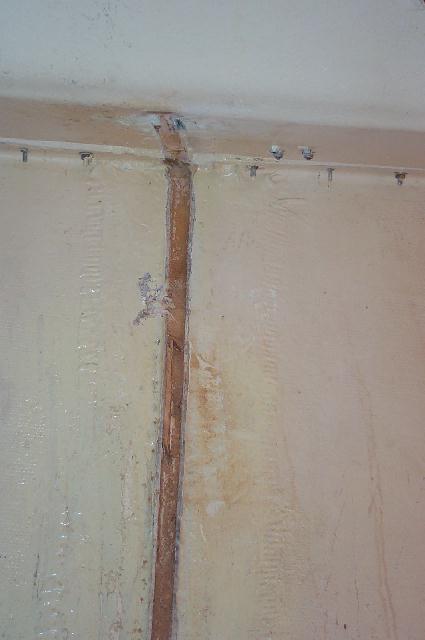
Here we started the removal by cutting the fiberglass tape with a pneumatic
die grinder fitted with a 3 inch cutting blade.
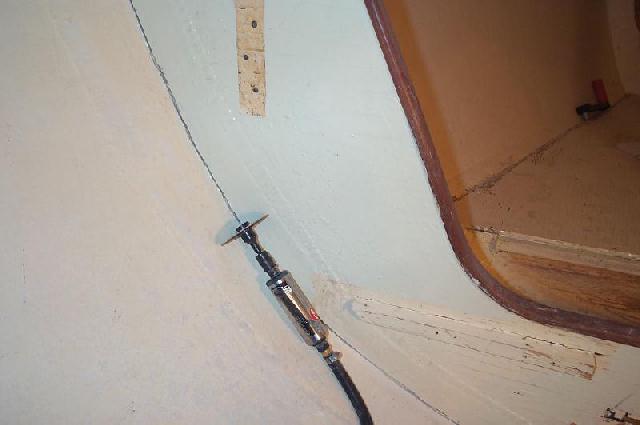
The tool worked fine however, I grew impatient with the progress and also the
limited access to the tight corners, so I decided to bring out the big artillery.
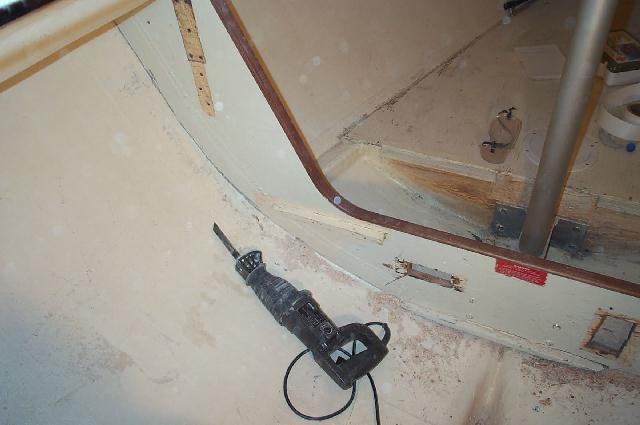
I was able to fish the flexible blade through the cut and just run along the
hull. I also was able to get right up to the deck and under the mast
support. With a little help from a sledge hammer and little persuasion
with the sawsall, I was able to get the old bulkhead out in three pieces.
I cut up to the joints of the trim in an attempt to preserve it for future
use. I think I was successful. The reason I had to cut in to three
was the center of the bulkhead was pretty stuck to the mast support. After
removing the sides, a little help from my BFH and she yielded to my desires.
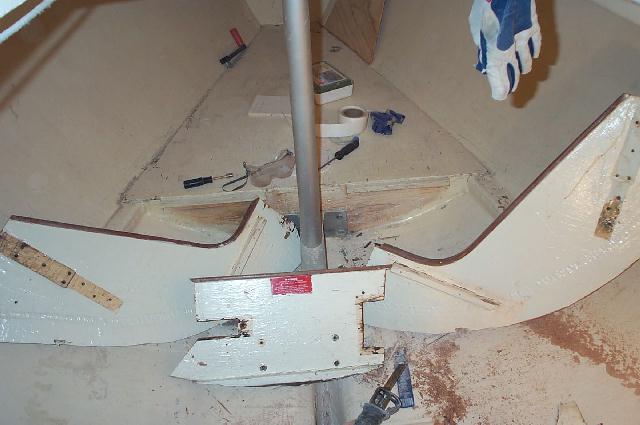
The rear bulkhead came out without a hitch. Same technique with the
sawsall.
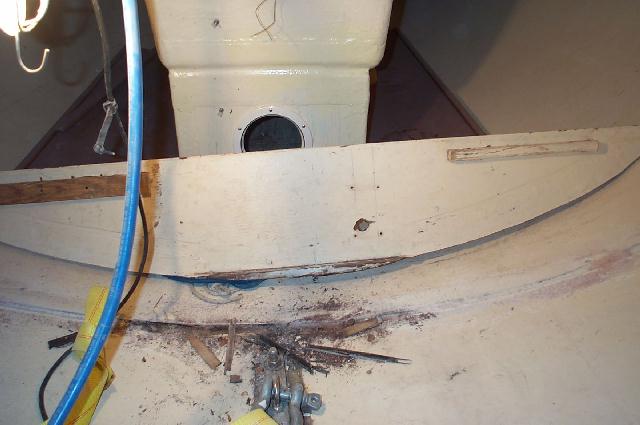
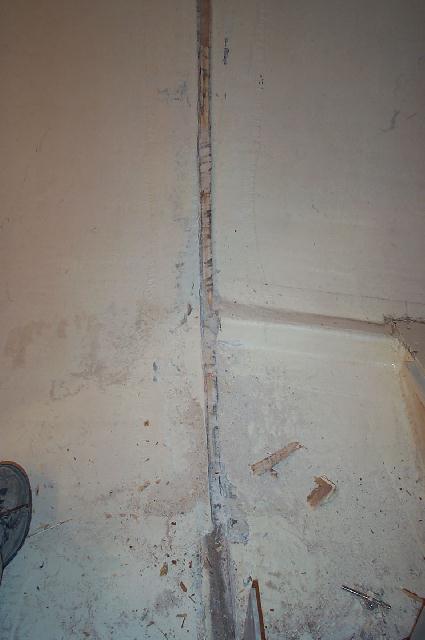
Here is the resulting joint after removing the forward bulkhead. I will
need to grind back the gel/paint to create a nice mating surface for the new
tape.
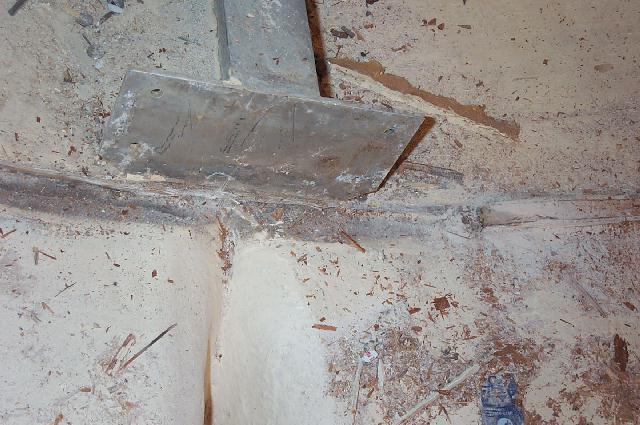
Now to the sump. Remember the delamination. I used the die
grinder to cut the detached glass.

Next step: clean up the joints, grind back the surfaces for mating with the
new glass, make a template for the bulkheads and cut new ones out of plywood.